
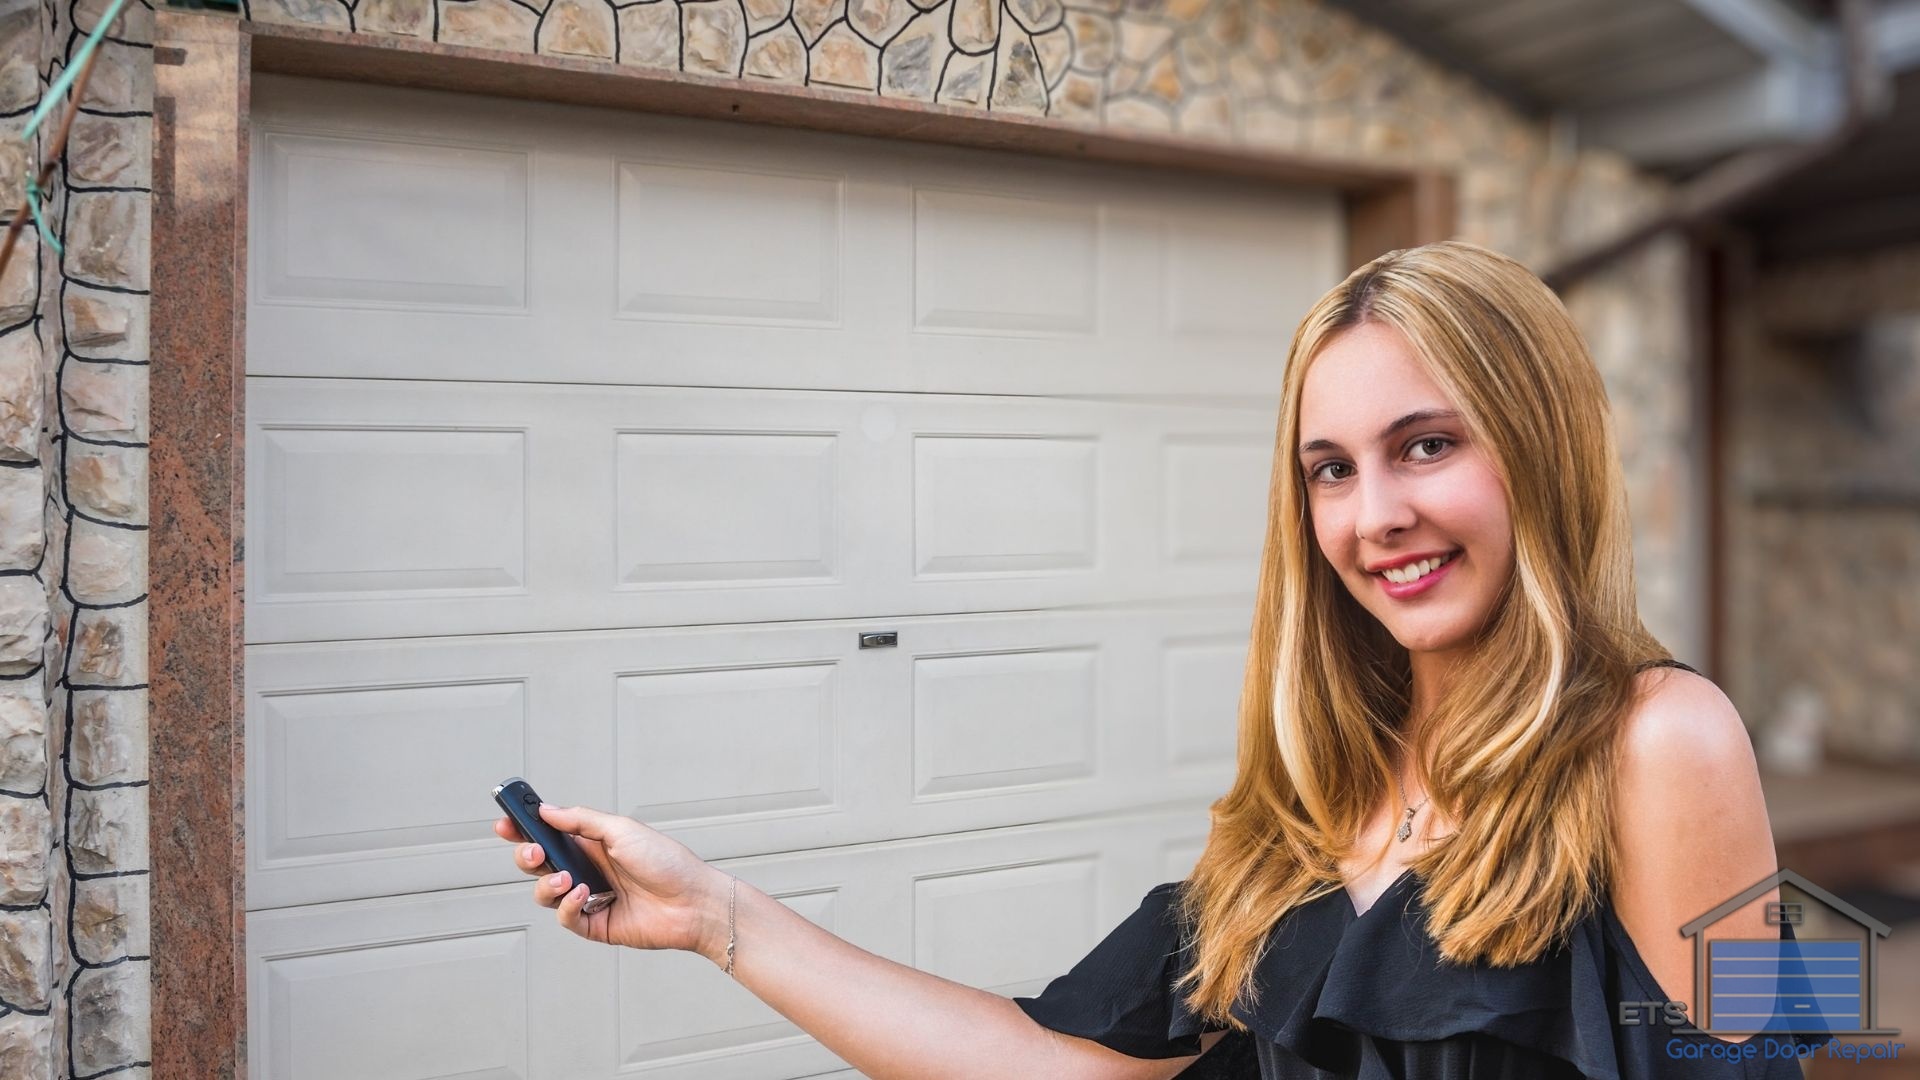
After years of helping Hillsboro homeowners with their garage door systems, I’ve lost count of how many times I’ve been called out for what turned out to be a simple keyless entry pad issue. Sometimes the pad stops working after a power outage. Other times, homeowners just want to change their code for security reasons but can’t remember how.
The good news is that programming your keyless entry pad is usually straightforward once you know the steps. I’m going to walk you through exactly how to do it, based on the most common systems we install and service here in Washington County.
Table of Contents
What You Need Before You Start Programming
Before you begin, you’ll need a few pieces of information. First, locate your garage door opener’s motor unit (the box hanging from your ceiling). You’ll need access to the “Learn” button on this unit.
Second, grab a sturdy ladder. Most opener units are mounted high enough that you’ll need one to reach the Learn button comfortably. If you’re not comfortable on a ladder, this is exactly the kind of quick job our team at ETS Garage Door handles every day.
Finally, decide on your new entry code. Choose something memorable but not obvious like 1234 or your house number. I always recommend a 4-digit code that’s easy for your family to remember but hard for others to guess.
Understanding Your Keyless Entry Pad Type
Not all keyless entry pads work the same way. The programming process depends on whether you have a wireless model or a wired model, and which manufacturer made your garage door opener.
The most common brands we work with in Hillsboro are LiftMaster, Chamberlain, Genie, and Craftsman. Each has slight variations in their programming procedures. Check the back of your keypad or your owner’s manual to identify your model.
Wireless keypads are battery-operated and communicate with your opener via radio frequency. Wired keypads connect directly to your opener’s terminal block. The programming steps differ slightly between these two types.
How Do I Program a LiftMaster or Chamberlain Keyless Entry Pad?
To program a LiftMaster or Chamberlain keypad, press the “Learn” button on your garage door opener motor unit, then within 30 seconds, enter your desired PIN code on the keypad and press “Enter.” The garage door opener lights will blink or you’ll hear a click, confirming successful programming.
Here’s the detailed step-by-step process I follow when programming these systems. First, climb up to your opener unit and locate the Learn button. It’s typically purple, orange, red, or yellow depending on your model’s age.
Press and release the Learn button. You’ll see an LED light turn on, giving you a 30-second window to complete programming. Don’t panic, 30 seconds is plenty of time.
Quickly move to your keypad and enter your chosen 4-digit PIN code. Immediately press the “Enter” button (sometimes labeled with an arrow or checkmark). If successful, the opener lights will flash or you’ll hear the unit click.
Test your new code by entering it and pressing Enter. Your garage door should open or close.

If it doesn’t work the first time, simply repeat the process. The Learn button resets after each attempt.
Programming a Genie Keyless Entry Pad
Genie systems work slightly differently. On the keypad itself, you’ll typically need to press and hold the arrow buttons (usually numbered 3, 6, and 9 simultaneously) until the LED blinks.
Then enter your desired 4-digit PIN and press the up/down arrow button to save it. Next, go to your opener unit and press the Program or Learn button once. Return to the keypad and enter your new PIN followed by the up/down arrow.
If the door operates, you’ve successfully programmed it. Genie systems can be a bit finicky, and I’ve seen plenty of frustrated homeowners here in Orenco and Tanasbourne struggle with the timing. If you’re having trouble after two attempts, give us a call rather than risk damaging the system, and we can also help you explore options for New Doors if your current system is outdated.
Troubleshooting Common Keypad Programming Problems
Sometimes programming doesn’t work on the first try. The most common issue I encounter is simply running out of time during the 30-second programming window, especially with homeowners juggling a ladder and trying to read instructions simultaneously.
If your keypad won’t program, first check the batteries. Even if the keypad lights up, weak batteries can prevent proper communication with the opener. I recommend replacing batteries annually, typically in spring before our rainy Oregon season really kicks in.
Another frequent problem is having too many devices already programmed into your opener’s memory. Most systems have a limit of 10 to 20 remote devices. If you’ve hit that limit, you’ll need to clear the memory and reprogram all your devices.
To clear the opener’s memory, press and hold the Learn button for about 6 to 10 seconds until the LED goes out. This erases all remote codes, including remotes and keypads. You’ll need to reprogram everything, so make sure you have all your remotes handy before doing this.
What If My Keypad Has a Different Button Layout?
Some newer smart keypads have different layouts or additional features. Models with built-in garage door controllers or temporary PIN capabilities require different programming sequences.
For these advanced systems, I strongly recommend consulting your specific model’s manual. The manufacturer’s website usually has PDF versions available if you’ve misplaced your original paperwork. You can also call our shop, and I can often walk you through it over the phone if we’ve worked with your system before, or you can learn more about How To Choose The Right Smart Garage Door Opener For Your Home if you’re considering an upgrade.
Security Tips for Your Keyless Entry System
Once you’ve programmed your keypad, think about security. Change your PIN at least once a year, or immediately if you’ve had contractors, housesitters, or anyone else who might have learned your code.
Position your keypad where it’s visible from the street or neighbor’s homes when possible. This deters someone from spending time trying to guess codes. The visibility factor matters more than you’d think in deterring break-in attempts.
Some of the newer systems we install in Hillsboro neighborhoods like AmberGlen and Witch Hazel Village include temporary PIN features. These let you give workers or guests a code that automatically expires after a set time. If you’re considering an upgrade, this feature alone is worth it for the peace of mind, and regular Maintenance can keep your system functioning optimally.
When to Call a Professional for Keypad Issues
Most keypad programming is straightforward, but sometimes there are underlying issues. If you’ve followed all the steps correctly and your keypad still won’t program, there might be a problem with the receiver logic board in your opener or with the keypad itself.
We’ve also seen interference issues from other wireless devices, though this is less common with modern systems. In the Pacific Northwest, moisture can occasionally work its way into older keypads, causing intermittent failures that no amount of reprogramming will fix.
At ETS Garage Door Repair of Hillsboro, we can diagnose these issues quickly and get your system working properly. Sometimes it’s a simple fix like repositioning the antenna wire inside your opener unit. Other times, you might need a replacement keypad or logic board.
If you’re struggling with programming your keyless entry pad or if it’s simply not responding after following these steps, don’t spend hours frustrated. Give our team a call, and we’ll have it working properly in no time. We’ve been serving Hillsboro and the surrounding communities for years, and we’re always happy to help with quick fixes like this, whether in person or over the phone, and we can also share tips on How To Prevent Damage To Your Garage Door to keep your entire system in great shape.

Leave A Comment